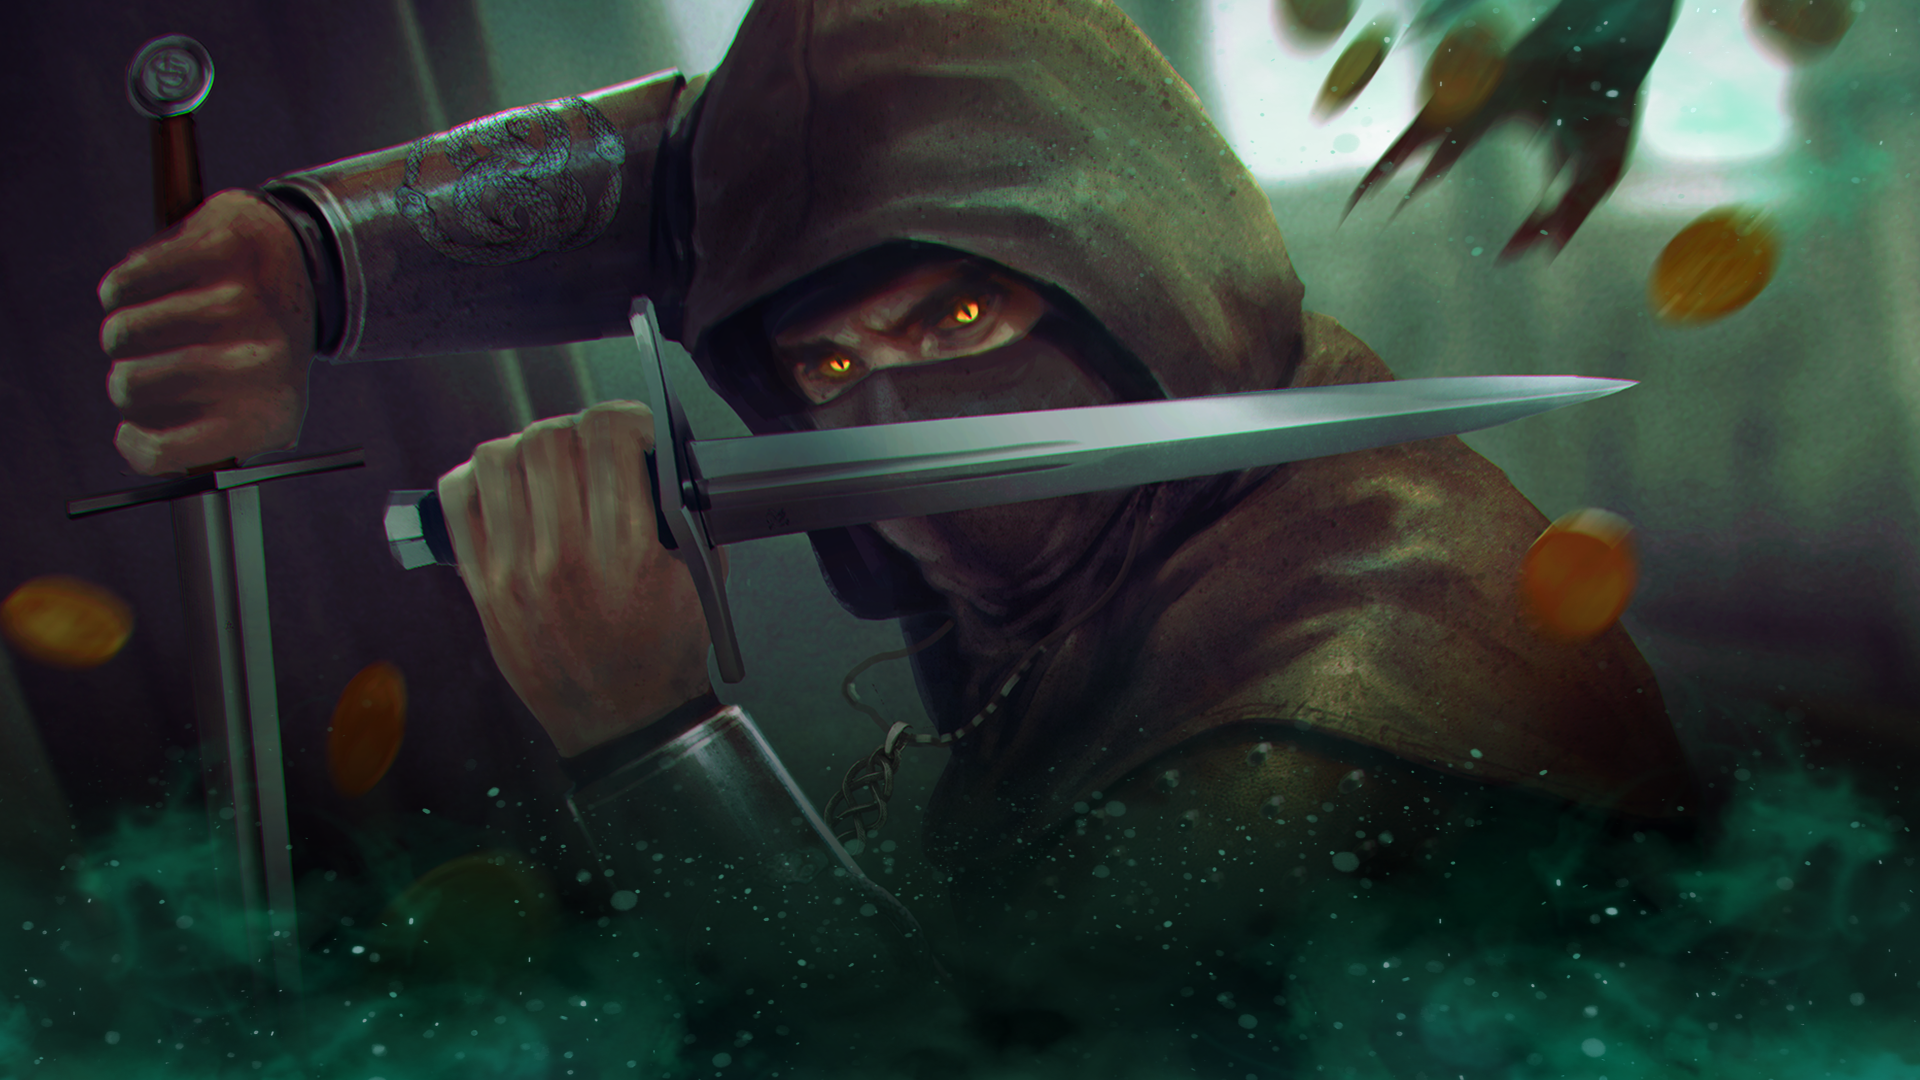
Twisting Blades is a powerful and versatile Rogue skill that can be played in many different ways. It is characterized by high damage, fun and active playstyle, and a good amount of skill expression. You can easily get started with it, but the more you play and practice with it, the better it gets.
In this guide you will be provided a solid base for this build that can do any content in the game. It can be also easily adapted to your needs and become very effective in PvP or Boss killing.
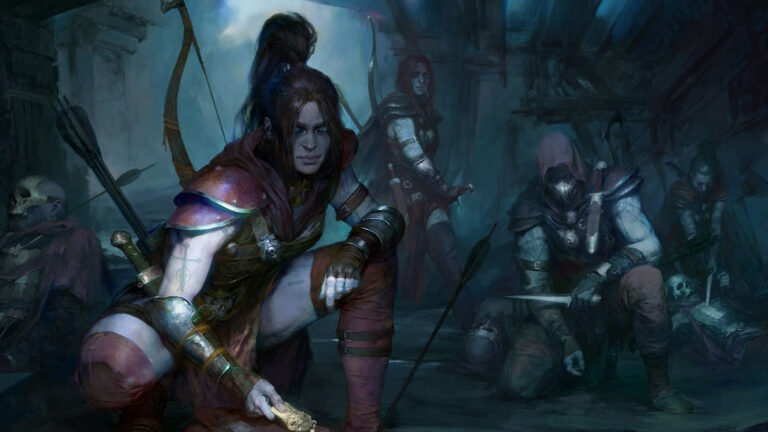
Gameplay Showcase
Skills Overview
Twisting Blades
Twisting Blades is the main ability of this build. It is very fast and powerful but it costs a lot of Energy and requires being in melee range of your target. In order to use it as much as possible, this build focuses heavily on Energy Regeneration. Using this ability to it's fullest potential requires a very active playstyle. You want to always be looking for optimal ways to force the returning blades to pass through as many enemies as possible. The better you get at managing this facet of Twisting Blades, the stronger the build will become in your hands.

Puncture
Puncture is the Basic Skill of choice in almost every meta Rogue build currently, and the Poison Twisting Blades Rogue is no exception. The on-demand Vulnerable application will help your single target damage greatly, and the Slow will help with Energy Regeneration through the Aspect of the Umbral .
Dash
A Twisting Blades Rogue needs to be very mobile to succeed. You will constantly have to jump from one side of a monster pack to the other, and Dash will help you do that effectively. Be mindful of your Poison Imbuement stacks and remember that Dash as well as Shadow Step will consume the Imbuement charge if it's active.

Shadow Step
Shadow Step has multiple functions in this build. First of all, it provides you with a Crowd Control escape, as it briefly turns you Unstoppable on use. Secondly it helps you move around the monsters quickly in order to redirect returning blades from your Twisting Blades skill. Since it gives you a guaranteed hit from behind and stuns the target with the Methodical Shadow Step passive, it allows you to quickly stack the Momentum Key Passive.

Poison Imbuement
This build scales Poison Damage very heavily. We're using numerous ways of reducing the Imbuement cooldown in order to have it available as often as possible. Poison Imbued attacks will apply Poison to enemies not only with the initial hit of Twisting Blades but also with the returning and orbiting projectiles. The Poison is a huge portion of our single target damage, so make sure to utilize it against tougher enemies.
Poison Trap
The Poison Trap is mostly a utility skill that allows us to benefit from various buffs and debuffs related to Trap skills. We do not care about the damage of the trap itself, but any time it is affecting your target, you will do significantly more damage to it with your Poison Imbued Twisting Blades.
Specialization
During most of your leveling period, you're going to have some downtime between the uses of Twisting Blades. You can make use of Combo Points and spend that time weaving in some basic attacks which will boost your next Twisting Blades damage by 20% per Combo Point. The Puncture will also help you recover energy faster through the Enhanced Puncture passive and Aspect of the Umbral whenever it applies a Slow.
Once you get enough Energy Regeneration and Energy Cost Reduction, you could swap your specialization to Inner Sight . This would mostly help your single target damage on Bosses.
Malignant Hearts
In the Season of the Malignant we have access to powerful Hearts which make this build even stronger. Depending on the type of content you're engaging in, there are a few exceptional choices outlined for you below.
The Barber
This Wrathful Heart is used by many builds in Diablo 4. It greatly improves your damage and clear speed in any environment where you're fighting big packs of monsters. It's great for any level of Nightmare Dungeons. The AoE clear from this build will allow you to stack massive Shadow Damage explosions. On this Malignant Heart you're going to want as short of a duration roll as possible, unless you're fighting extremely tanky, high level enemies. Even with just two seconds of damage absorption, you'll have more than enough to obliterate any pack of monsters you'd ordinarily encounter.
Creeping Death
The alternative choice of a Wrathful Heart is the Creeping Death. Rather than increasing your AoE clear potential, this Heart will massively boost your single target damage. Against non-Bosses, you'll get a big multiplier to your Poison damage for each Crowd Control effect affecting them. Against Staggered Bosses you'll get up to 150% increased damage, and this build is very capable of Staggering Bosses quickly. If you simply want your Poisons to do incredible amounts of damage, this is a Heart for you.
Revenge
This Brutal Heart is a great defensive option that provides unconditional damage mitigation. As a melee build, you'll get yourself in dangerous situations fairly often, so this additional layer of Damage Reduction helps a lot. The damage part of this Heart activates whenever you use your Poison Trap , which usually is in a large group of monsters or next to a high HP enemy. The little bit of extra damage it provides is helpful but not very important. The main reason we're using that heart is purely the defence.
The Dark Dance
This Vicious Heart fits perfectly into a Twisting Blades build. Not only does it boost your damage every 5 seconds, but it also allows you to spend your life instead of Energy for that boosted attack. Since we're doing everything we can in this build to reduce the amount of Energy we're spending, this addition is extremely helpful. The life cost is low enough that you'll heal it right back up through Siphoning Strikes .
Aspects
Helmet:
- Aspect of Shared Misery
This is the default end-game Aspect for the Helmet slot in this build. It spreads Crowd Control effects to other enemies whenever we hit a target affected by them. It helps with our survivability by spreading around Stun, Slow, Daze and Chill (all of which this build applies), and it synergizes with Aspect of the Umbral, giving us even more energy recovery and allowing us to use Twisting Blades more often. - Aspect of Might
Before you have Aspect of the Umbral and max out your Energy Regeneration, you will be using Puncture more often. This makes Aspect of Might a good early option for this slot. - Cheat’s Aspect
If you’re happy with your Energy recovery, but would like to be more tanky, you can try this Aspect for additional defense in the end-game. This is particularly effective in combination with the Penitent Greaves Unique Boots.
Chest Armor:
- Mangler’s Aspect
This Aspect gives us an additional source of Crowd Control that serves as a defensive layer as well as a trigger for the Aspect of the Umbral. It requires Vulnerable debuff to be present on the target, which will normally be taken care off by the Exploit Glyph. Anything that would survive longer than 3 seconds of Vulnerable granted by the Glyph will be either hit by a Puncture or have a Poison Trap affecting it, which will give you Vulnerable through another Aspect.
Gloves:
- Aspect of Bursting Venoms
This Aspect will help your clear by periodically refreshing your Poison Imbuement cooldown and dealing a little bit of extra damage with the ground damage over time effect. However the true power of this Aspect lies in it’s ability to drastically increase your Boss damage. If a pool of Poison spawns under the boss and you have the Energy to do it, you can repeatedly smash the Twisting Blades button to keep reapplying new Poisons to the enemy, without spending the Imbuement charges. Stacking Poisons this way can give you absolutely absurd amounts of damage.
Pants:
- Aspect of Disobedience
This powerful defensive Aspect is present in most Diablo 4 builds. In this build specifically, we can stack the buff very easily, because we have a lot of abilities that deal damage in multiple increments. Poison Imbuement , multiple hits from Twisting Blades , Poison Trap – all of them hit multiple times and each of those hits helps us maintain the stacks for Aspect of Disobedience.
Boots:
- Ravager’s Aspect
Before you find your Unique Boots, you should utilize the Ravager’s Aspect. We don’t care about the damage of Shadow Step , however the extra charge will be very useful for getting out of Crowd Control as well as moving around the battlefield quicker.
Ranged Weapon:
- Bladedancer’s Aspect
Available as early as level 15 from the Jalal’s Vigil Dungeon in Scosglen, this Aspect will greatly help your damage and clear speed. Because it is available from the Codex, we can reliably get it on a new character and start playing with the full power of Twisting Blades right away. The further away you move from your targets after impaling them with the first portion of Twisting Blades – the more damage the rotating blades will deal.
Amulet:
- Blast-Trapper’s Aspect
This Aspect will help us maintain the important Vulnerable debuff on longer fights. The chance to apply Vulnerable works only for Lucky Hits, so in order to do it consistently we’re using this Aspect on an Amulet. By placing it on the Amulet we can get it up to 75% chance instead of just 50%.
Rings:
- Aspect of the Umbral
This Aspect is one of the main ways we can recover enough Energy to constantly use Twisting Blades while clearing packs of monsters. You can find the guaranteed Codex version of this Aspect in Champions Demise Dungeon, but if you can find a higher roll, you will recover significantly more Energy. A maximum roll of this Aspect is very valuable, so make sure to save it for a good ring. - Ravenous Aspect
Another Aspect to help us recover more Energy. This one becomes really good once you get the Exploit glyph, which will guarantee that every monster you hit, will be Vulnerable for 3 seconds – that’s usually enough time to kill anything standing in your way.
One-Handed Weapons:
- Accelerating Aspect
Since we’re investing in Critical Strike Chance, we’re going to be activating this Aspect consistently. The extra Attack Speed will help our DPS and will make the build feel more smooth. - Edgemaster’s Aspect
This Aspect will provide you with extra damage regardless of the Specialization you use. With high enough Energy Recovery you’ll be able to get the maximum benefit out of it.
Unique Items
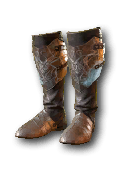
Penitent Greaves
These Unique Boots have great synergy with Aspect of the Umbral . Just by moving around monsters, you'll be automatically applying Crowd Control effects to them, and spreading them to nearby enemies through Aspect of Shared Misery . This results in a large amount of Energy Recovery. Adding Chill to this build also enables us to utilize the Frigid Finesse passive for even more damage.
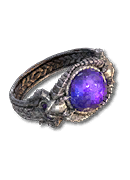
Ring of Starless Skies
If you ever get lucky enough to find this extremely rare Ring, it is a good option for Twisting Blades. It significantly reduces the Energy cost, allowing you to chain together many casts, without the need to wait and recover. It is especially powerful during Boss fights.
Item Modifiers
To itemize your character properly, you should know the priority of various modifiers that can appear on your gear. For Twisting Blades, one of the most important affixes you can have on your gear is Energy Cost Reduction and Resource Generation.
In order to scale your damage you'll want to maximize your Critical Strike Chance, Critical Damage and Vulnerable Damage, as well as additional Ranks to Offensive Skills and Cooldown Reduction.
For the defense, we're going to need Armor, Dodge Chance, Damage Reduction and Damage Reduction against Close Enemies.
| Equipment | Best-in-Slot | Good Stats |
| Helm | – Ranks Of Poison Imbuement – Cooldown Reduction – Total Armor – Maximum Life | – All Stats – Dexterity – Intelligence – Strength |
| Chest | – Damage Reduction – Damage Reduction From Close Enemies – Total Armor – Maximum Life | – All Stats – Dexterity – Intelligence – Strength – Damage Reduction From Distant Enemies |
| Gloves | - Ranks Of Twisting Blades - Attack Speed - Critical Strike Chance - Lucky Hit: Chance To Slow | – All Stats – Dexterity – Intelligence – Strength - Lucky Hit: Chance To Restore Primary Resource |
| Pants | – Imbuement Skill Cooldown – Damage Reduction – Dodge Chance – Maximum Life | – Total Armor – Damage Reduction From Close Enemies – Damage Reduction From Distant Enemies – Damage Reduction While Injured – Dodge Chance Against Close Enemies |
| Boots | - Dodge - Energy Cost Reduction - Movement Speed - Damage Reduction While Injured | – All Stats – Dexterity – Intelligence – Strength – Dodge Chance Against Distant Enemies |
| Amulet | - Cooldown Reduction - Rank Of All Imbuement Skills - Energy Cost Reduction - Ranks of the Weapon Mastery Passive | - Imbuement Skill Cooldown Reduction - Damage Reduction - Dodge Chance – Ranks of the Exploit Passive – Ranks of the Malice Passive |
| Rings | - Resource Generation – Critical Strike Chance – Critical Strike Damage – Vulnerable Damage | – Maximum Life – Critical Strike Damage With Imbued Skills – Damage to Poisoned Enemies – Lucky Hit Chance |
| Weapons (all) | – Critical Strike Damage – Vulnerable Damage – Dexterity – All Stats | – Core Skill Damage – Critical Strike Damage With Imbued Skills |
Weapon Bases
When selecting your weapons, make sure to pay attention to their implicit modifier, which is associated with the weapon type.
- Swords should be your first choice over Daggers. Even though Daggers provide a little bit more Attack Speed, the Damage to Close Enemies implicit modifier is not going to be always useful, since you want to impale your enemies with Twisting Blades, and then run away from them, letting the blades pass through other monsters as they're returning to you. This means that a significant portion of your damage is done from a distance. Swords always come with a Critical Strike Damage implicit which universally applies to all your direct damage hits.
- Crossbows always come with a Vulnerable Damage implicit which is one of the best stats you can get on your gear. Since the DPS of our ranged weapon does not matter to this build, make sure to heavily prioritize Crossbows with good modifiers on them and put less priority on raw Item Power.
Gems
- Armor - Topaz
As a melee build, you will often be the target of enemy Crowd Control effects. If you don't have a way to break out of them, the Topaz gem [10% Damage Reduction under Crowd Control] will give you a massive boost to your defense during those moments.
- Weapons - Sapphire
Even though we're applying a lot of Crowd Control effects, which would make the Sapphire [12% Critical Strike Damage to Crowd Controlled enemies] a decent option, this doesn't work well on Bosses that can't be Crowd Controlled unless they're Staggered. However, the Vulnerable debuff can be present at all times on your targets, making Emerald [12% Critical Strike Damage to Vulnerable enemies] the best choice for your weapon sockets.
Skill Tree
In this section of the guide, you'll find the Skill Tree with the recommended order of spending your points and an overview explaining the choices.
You can find the Skill Tree HERE (powered by D4Builds.gg). Under the “Skill Tree” tab, make sure that you have the “Leveling Path” enabled to see the recommended order of Skill Point allocation.
- We begin by going directly to Puncture , to secure a guaranteed way to apply the Vulnerable effect. We put only one point in the Puncture itself.
- Next we pick Twisting Blades and passives behind it all the way to Twisting Blades . This will help you lower your movement ability cooldowns early on, and make you faster.
- The following levels we're going to put one point in Dash and Shadow Step . Then pick up Shadow Step . We're acquiring all of the utility effects for our skills early because our damage should be really good at this point, so there is no need to rush for more of it.
- After that we're going to start maxing out Twisting Blades and pick up Poison Trap as well as Poison Trap .
- Grab a point in Poison Imbuement as soon as it's available and head back for 1/3 in Sturdy into 3/3 Siphoning Strikes . This will give you reliable sustain.
- Start maxing out Poison Imbuement with any spare points and - as soon as it's available - take 1/3 Adrenaline Rush and 3/3 Haste .
- After maxing our the Poison Imbuement and picking up the Poison Imbuement passive, it's time to grab a lot of the damage passives: Exploit 3/3, Malice 3/3, Trap Mastery 3/3, Precision Imbuement 3/3, Stutter Step 3/3, Deadly Venom 3/3, Weapon Mastery 3/3.
- Our Key Passive is going to be Momentum . It's overloaded with amazing stats, and this build is set up to naturally activate it all the time.
- Lastly we're going to take Frigid Finesse - this passive is only useful if you have the Penitent Greaves Unique Boots.
Paragon Boards & Glyphs
The complex system of Paragon Boards and Glyphs makes up a large portion of this build's damage. It is important to know ahead of time which Glyphs you're going to be using so that you can level them through the Nightmare Dungeons. Your aim is to have all of them at the maximum level of 21, or at least past the breakpoint at level 15 where they expand to the maximum radius.
You can also find the full Paragon setup you can follow HERE (powered by D4Builds.gg).

Starting Board
For the Starting Paragon Board we'll be using the Closer Glyph, because it's the only Glyph in this build that requires Dexterity in the Glyph radius. Twisting Blades is a Cutthroat Skill which benefits from this large Damage Increase and all of our skills are using Melee weapons, making the Damage Reduction bonus apply at all times.

Deadly Ambush
The Deadly Ambush board focuses on Traps and boosts our damage against enemies affected by them. It also has the very useful Spring Loaded passive which reduces the arming time delay between placing a Trap down and the actual activation of it. For the Glyph, we're going to use Ambush , which has an additive damage increase component as well as a multiplier to the damage dealt against enemies affected by Trap Skills.

Exploit Weakness
The Exploit Weakness board features a lot of Vulnerable Damage passives, which boost the effectiveness of Vulnerable as a damage multiplier. It also has the only Legendary Paragon passive we're picking in this entire setup - Exploit Weakness Legendary node increases the damage taken by enemies whenever they're hit by you while they are Vulnerable. Our Glyph choice for this board is Tracker , because we have access to a lot of Intelligence in the Glyph socket radius.
No Witnesses
We select this board primarily because it gives us a lot of Strength to support the Exploit Glyph. This Glyph enables a lot of other passives and Aspects by giving us a way to instantly apply Vulnerable to every target we hit.
Cunning Stratagem
This Paragon board is very point-efficient. We path through it while picking up only the best nodes and securing our Glyph socket. Since the board has a lot of Strength provided in the socket radius, we can take advantage of the Turf Glyph. It's a standard Glyph used in Melee builds that provides a good mix of offence and defense.
Tricks of the Trade
The last board is Tricks of the Trade. We do not pick the Legendary passive here. We're simply finishing up our setup with something that can support the Bane Glyph. This will boost your Poison damage and give you a chance to double the damage of your Poison Imbuement .
Gameplay Tips
- Ty to use your Twisting Blades on monsters at the edge of the pack, then Dash , Shadow Step or Evade to the opposite side of that pack in order to direct your blades through as many enemies as possible.
- The more enemies you hit with returning blades the more you will lower the cooldowns of your other skills. Pay attention to your Poison Imbuement cooldown because this build has many ways of resetting it, so you may be able to use it again much earlier than expected, and it's a very large damage boost.
- If you're fighting a Boss or a very tanky Elite monster, remember to either use Poison Trap or Puncture in order to keep up the Vulnerable Debuff. Your Exploit Glyph will give you only 3 seconds of Vulnerable uptime, so make sure to keep it up through other means on targets that would survive longer than that.
- Make sure to hit Bosses from behind to activate the Momentum Key Passive
The Twisting Blades Rogue will make you feel like an ninja more than any other build in Diablo 4. It's an incredibly fun and engaging playstyle that rewards good positioning and skill.
The Poison version of Twisting Blades is incredibly versatile and can be used for general gameplay as well as pushing the more challenging content in Diablo 4. It's a great choice for anyone who wants to try the assassin playstyle.